

 中文简体
 Español
 عربى

Is a Heavy Duty Chipping Hammer Good for Tile Removal
Removing old flooring often involves two separate jobs. Breaking and lifting the tile is one stage, while clearing the adhesive left underneath is another. Both tasks involve bonded material, although the way a tool contacts the surface can be quite different.
Tile may crack into pieces under repeated impact, allowing larger sections to be lifted away from the floor. Adhesive residue tends to stay closer to the substrate, forming a thinner layer that can require a wider scraping action rather than concentrated impact.
A Heavy Duty Chipping Hammer can be useful when floor material is firmly attached and manual removal becomes physically demanding. Impact from the hammer travels through a suitable attachment and reaches the bonded material, helping weaken its connection with the surface.
Tool selection should start with the condition of the floor rather than the name or size of the machine. A rigid concrete surface can usually tolerate a different working approach from a thin or delicate substrate. Excessive impact on a sensitive floor may create chips, gouges or cracks beneath the material being removed.
Several factors deserve attention before work begins:
- Type of tile being removed
- Thickness and hardness of adhesive
- Condition of the underlying floor
- Size of the working area
- Access around edges and corners
- Amount of control required
Manual chisels can still be useful for small sections, corners and areas close to finished surfaces. Mechanical impact becomes more practical as the bonded area grows or the material becomes difficult to separate.
How Does a Heavy Duty Chipping Hammer Work on Tile
A chipping hammer uses repeated mechanical impact to break material or loosen a bond. With a suitable chisel attached, each impact transfers force into a relatively small working area.
Tile removal usually begins from an exposed edge, joint or already damaged section. Starting from an accessible point gives the chisel a place to enter beneath the tile rather than forcing the tool directly through the surface.
Working angle has a strong influence on the result. Holding a chisel too vertically can drive force into the floor underneath, while a shallower angle can help direct the tool beneath the tile. The correct position depends on tile thickness, adhesive condition and substrate strength.
Once a section begins to lift, the operator can move along the edge and gradually separate more material. Working in smaller sections provides greater control and makes it easier to see what is happening underneath.
A useful working sequence is:
Expose an Edge → Position the Chisel → Apply Controlled Impact → Lift the Tile → Check the Substrate
Tile fragments can vary considerably in size during removal. Some pieces may separate cleanly, while others can break into smaller sections. Keeping the working area organized helps reduce interference from loose debris.
A heavy‑duty machine does not remove the need for technique. Impact force must still be directed toward the material that needs to move. Pressing aggressively into the floor can transfer unnecessary force to the substrate.

Can It Remove Flooring Adhesive After Tiles Are Lifted
Once tiles have been removed, adhesive residue often remains across the floor. Thickness, hardness and bonding condition can vary from one section to another, so the same attachment and working angle may not suit every area.
Hard, brittle residue may respond to controlled impact. Softer or thinner adhesive can sometimes be lifted more effectively with a broad scraping attachment that stays close to the floor.
A narrow chisel concentrates force into a small point. Such concentration can help break stubborn sections, although it also increases the chance of marking the surface underneath when used carelessly. A wider scraper spreads contact over a larger area and can be more appropriate for lifting material that has already loosened.
For adhesive removal, the goal changes from breaking material to separating residue from the substrate. That difference affects how the tool should be handled.
A practical approach is to test a small section first. Once the response of the adhesive and floor becomes clear, the operator can adjust the attachment, angle and pressure accordingly.
Adhesive removal may involve:
- Thick hardened residue
- Thin bonded layers
- Uneven patches
- Areas with loose edges
- Sections firmly attached to the substrate
Mechanical removal can reduce physical effort across a large floor area, while hand tools may still provide better control around corners, walls and sensitive sections.
Which Floor Surfaces Are Suitable for Heavy Impact Removal
Substrate strength should be considered before using a heavy impact tool. A rigid floor can generally tolerate more mechanical force than a thin or flexible surface, although working technique still matters.
Concrete provides a relatively hard working surface for many tile removal tasks. A suitable chisel can break tile and loosen firmly bonded residue without requiring the operator to attack the entire floor surface directly.
Wood‑based flooring requires greater care. Excessive impact may damage the surface below the adhesive, particularly where the material has limited thickness or structural support.
Fragile substrates require an even more controlled approach. Areas containing concealed installations also deserve caution because the tool may penetrate deeper than expected once the covering material has been removed.
| Floor Surface | Typical Removal Concern | Practical Approach |
|---|---|---|
| Rigid Concrete | Hard Bonded Residue | Controlled Impact |
| Solid Masonry Surface | Firm Tile Adhesion | Chisel From an Exposed Edge |
| Wood Based Floor | Surface Damage | Lower Impact Or Manual Removal |
| Thin Substrate | Gouging Or Cracking | Careful Scraping |
| Sensitive Area | Hidden Damage Risk | Check Surface Before Impact |
No single setting suits every floor. Even within one room, adhesive thickness and substrate condition can change from one section to another. Adjusting the method as conditions change helps maintain control.
Before starting a large area, testing a small exposed section can reveal how much force the floor can tolerate. Such a check may also show whether the adhesive separates easily or requires a different attachment.
The useful question is not simply whether a Heavy Duty Chipping Hammer has enough impact. More important is whether its force can be controlled well enough for the floor being worked on.
What Chisel Shape Should Be Used for Tile and Adhesive Removal
Chisel selection can change how impact reaches tile and adhesive. A narrow point concentrates force into a small area, making it useful for starting a break or opening a path around a firmly attached section. Once tile has begun to separate, a broader blade can provide better contact beneath larger pieces.
Flat and wide attachments are often more suitable for adhesive scraping because their edges can stay closer to the floor. Rather than breaking a thick section apart, a scraper works by pushing under or across residue that has already been weakened.
Attachment choice can follow the removal stage:
- Narrow chisel: useful for starting breaks and working around stubborn sections
- Flat chisel: suitable for lifting tile from an accessible edge
- Wide scraper: useful for removing adhesive residue across open floor areas
- Smaller attachment: practical around corners and restricted spaces
A Heavy Duty Chipping Hammer should also match the attachment being used. Poor compatibility can affect handling and may prevent the impact from reaching the intended working area efficiently.
For tile removal, starting from an edge generally gives better control than attacking the middle of an intact tile. Once a gap appears, the attachment can move underneath the tile with less direct contact against the floor.
Adhesive work calls for a different position. Keeping a scraper relatively close to the substrate allows its edge to work beneath the residue instead of digging deeply into the floor.
How Can Operators Control Damage During Removal
Fast removal is not the only concern during flooring work. A clean substrate may be needed for whatever flooring comes next, so unnecessary gouges and chips can create additional preparation work.
Starting from an exposed edge helps reduce uncontrolled impact. Once a small section has been lifted, the operator can follow the separation line instead of forcing the chisel through intact material.
Pressure should remain controlled. A heavy machine already supplies repeated impact, meaning excessive pushing can make the attachment bite too deeply into the substrate.
Working in manageable sections also makes surface inspection easier. After removing a small area, loose fragments can be cleared so the next section becomes easier to see.
Several habits can help maintain control:
- Start where an edge or joint is accessible.
- Keep the attachment aligned with the material being removed.
- Work gradually rather than forcing the tool into the floor.
- Check the exposed surface during the job.
- Change the attachment when the removal task changes.
- Reduce impact around corners and sensitive areas.
A change in resistance can provide useful information. When tile suddenly gives way, the attachment may move deeper than expected. When adhesive becomes thin, continued heavy impact may affect the floor instead of improving removal.
Good tool handling therefore depends on feedback from the working surface. Sound, vibration and resistance can all change as the material beneath the tile becomes exposed.
What Safety Factors Matter During Heavy Duty Chipping Work
Tile and hardened adhesive can break into sharp fragments during mechanical removal. Loose pieces may travel away from the working point, making eye protection an important part of preparation.
Dust can also appear as tile, adhesive or the substrate is disturbed. Suitable respiratory protection and effective dust control should be selected according to the material being removed and the working environment.
Noise and vibration deserve attention during longer jobs. Hearing protection can reduce exposure to high working noise, while appropriate gloves and a stable stance can make tool handling more manageable.
A safe work area also needs enough separation from other people. Anyone standing close to the removal zone can be exposed to fragments, dust and unexpected movement of the tool.
Before changing an attachment or making an adjustment, power should be disconnected according to the equipment instructions. Loose accessories should never be handled while the hammer can still start unexpectedly.
Useful preparation includes:
- Eye protection
- Suitable hearing protection
- Appropriate respiratory protection
- Work gloves
- Stable footwear
- A clear working area
- Suitable dust control
- Secure attachment installation
Extra care is needed around walls, edges and areas where hidden pipes or wiring may exist. Once old flooring has been removed, previously covered areas become visible, making it easier to identify conditions that could affect the next stage of work.
When Is a Heavy Duty Chipping Hammer a Practical Choice
A Heavy Duty Chipping Hammer can make sense when tile is firmly bonded to a rigid floor and manual removal requires considerable physical effort. Large open areas are generally easier to approach with mechanical impact because the operator can work through sections rather than relying entirely on hand tools.
Hard adhesive residue can also justify using a chipping hammer, particularly where scraping alone cannot separate the material. A broad attachment may help remove loosened residue while keeping contact relatively close to the substrate.
Manual methods remain useful in places where precision matters more than speed. Corners, narrow strips, fragile surfaces and areas near finished walls may call for a smaller tool or slower approach.
A simple decision process can help:
- Firm Tile + Rigid Substrate → Consider Controlled Impact
- Thin Adhesive + Stable Floor → Consider a Broad Scraping Attachment
- Fragile Substrate → Use a More Controlled Method
- Restricted Area → Consider a Smaller Hand Tool
- Unknown Surface Condition → Test a Small Section Before Continuing
Tool selection should follow the relationship between tile, adhesive and substrate rather than the hammer alone. A heavy‑duty machine may provide useful impact for demanding removal work, while careful attachment selection and controlled handling determine how effectively that force is used.
For flooring projects, successful removal often depends on knowing when to apply impact and when to ease off. A rigid surface with firmly bonded tile may respond well to mechanical work, whereas a delicate substrate can require slower scraping and closer observation. Matching the removal method to the material underneath helps keep the process practical while reducing avoidable surface damage.
Product Recommendations
-
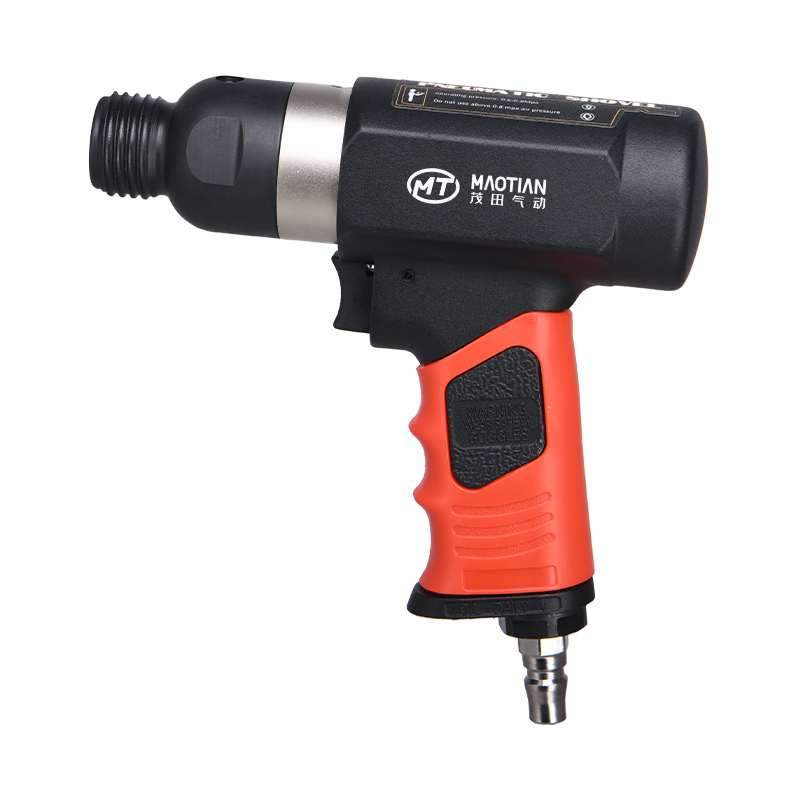
Heavy Duty Medium Barrel Air Hammer
read more -
6" Pads And Sandpaper Air Random Orbital Polisher For Metal
read more -
Ultra Duty 40V Strong Power Brushless 1" Li-ion Impact Wrench
read more -
1/2" 20V Brushless Lightweight Li-ion Impact Wrench
read more -
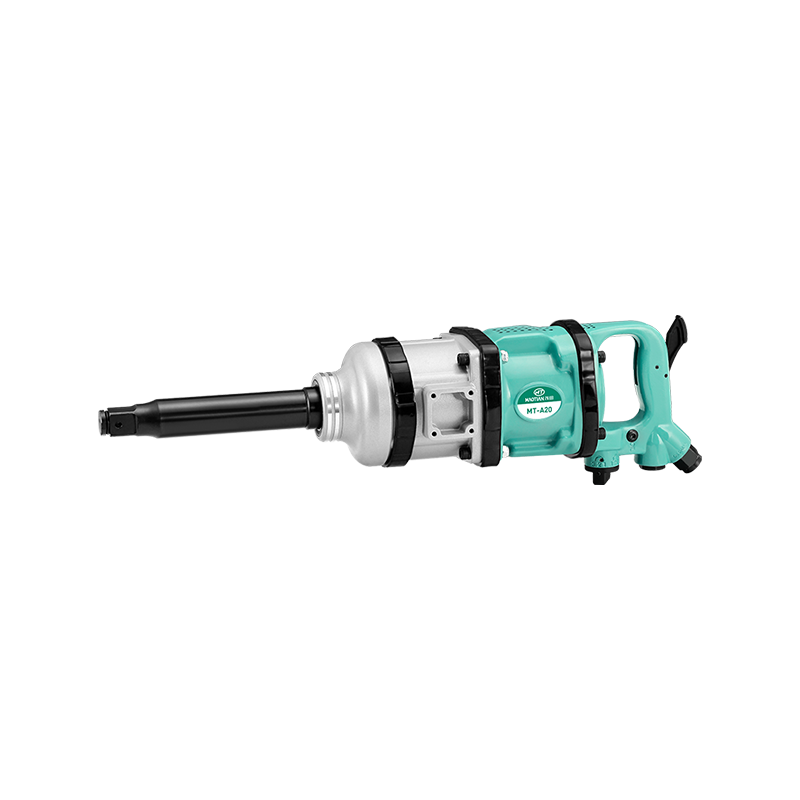
1" Heavy Duty Pinless Clutch Air Impact Wrench
read more -
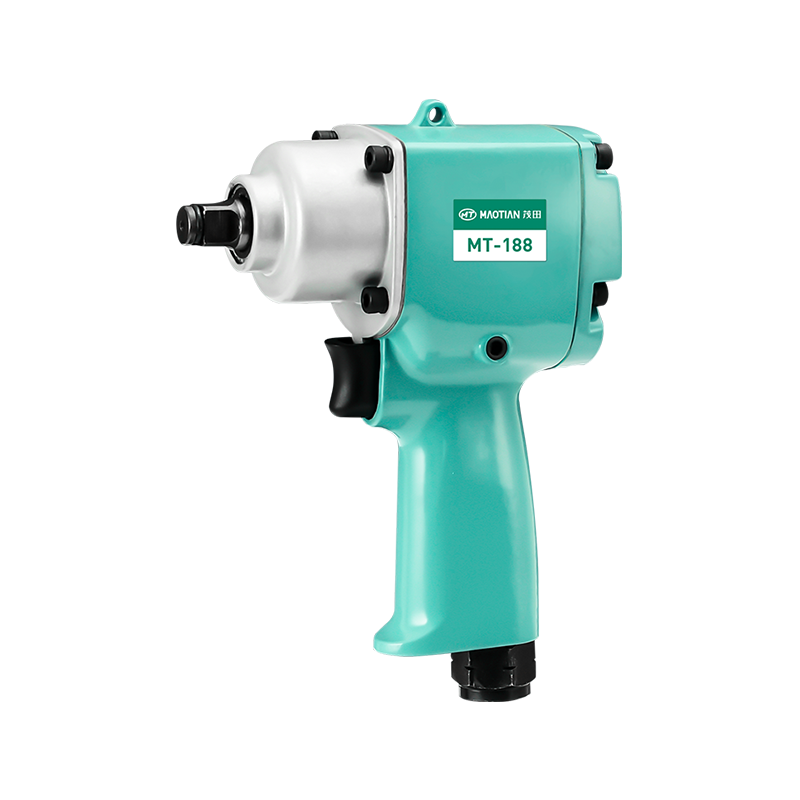
3/8 Inch Stubby Mini Air Impact Gun
read more
Contact
-
Official Address
Building 4, No. 1169, Jiutang South Road, Sanjia Street, Taizhou Bay New District, Taizhou City, Zhejiang , China.
-
Email Us
zoe@maotian-airtool.com
-
Call Us
+86 18815202028 (Zoe Sales Manager )
+86-576-82737789


Copyright © Taizhou Maotian Pneumatic Tools Co., Ltd.
Industrial Pneumatic Tools Factory


