

 中文简体
 Español
 عربى

How Does a D Handle Impact Wrench Support Safe Operation
An impact wrench shows up often in garages, workshops, and maintenance bays wherever bolts and nuts need loosening or tightening. A D Handle Impact Wrench puts both hands around a solid grip, yet the spinning drive can still jerk sideways the moment a stubborn fastener pushes back.
Getting comfortable with the tool starts well before the trigger gets pulled. A wobbly workpiece, slippery floor, cracked socket, or twisted wrist position can all chip away at control once the motor kicks in. Staying safe isn't only about the tool itself, it's about everything surrounding the job too.
Every task brings its own layout. Working on a fastener tucked beside a running machine leaves almost no room to shift position, while a part clamped to a bench gives far more breathing room. Lighting, floor grip, elbow room, and how steady the workpiece sits should all get a quick look before anything spins.
What Should Be Checked Before Starting a Job?
A quick walk-around inspection catches trouble early. Look over the housing, handle, trigger, power cord, and socket before putting any load on the tool. Hairline cracks, wobbly sections, frayed cables, or worn plug connections deserve attention, not a shrug.
Socket fit matters more than people usually assume. A socket needs to sit snugly on both the fastener and the drive shaft. A loose or mismatched socket can slip mid-turn, and that slipping often chews up the fastener head along with it.
| Check Area | What To Check |
| Housing | Cracks, loose or broken parts |
| Handle | Damage and grip condition |
| Switch | Smooth and normal movement |
| Power Connection | Secure connection and visible damage |
| Socket | Correct fit and sound condition |
| Drive Connection | Firm attachment without looseness |
How Can the Work Area Be Made Safer?
An open, clutter-free space gives more freedom to shift stance mid-job. Stray tools, tangled cables, spilled oil, or a forgotten wrench on the floor can throw off footing right when repositioning is needed.
Light needs to reach the fastening point clearly, not just the general area. Dim corners make socket alignment tricky and can hide small cracks or wear near the connection point. A steady workpiece matters just as much, since any wobble in the part itself can knock the socket off-center without warning.
Before switching the tool on, check:
- Walking and standing areas
- Lighting around the fastening point
- Available room for both hands
- Stability of the workpiece
- Nearby objects that may interfere with movement
Different job sites call for different postures. A tight engine bay might only allow a short, controlled reach, while an open workbench allows more freedom to adjust on the fly. Clearing the space first cuts down on sudden, off-balance movements once the tool is running.
How Should the Tool Be Held During Use?
A steady grip keeps the socket lined up square with the fastener. The D-shaped handle lets both hands wrap around the tool body in a way that supports control, as long as the design supports a two-handed hold.
Body position should work with the grip, not against it. Reaching too far stretches the arms thin, while standing too close cramps movement and limits reaction room. A balanced stance leaves enough space to adjust if the tool twists under load.
Hand pressure should stay firm but not white-knuckled. Wrists should sit in a relaxed, neutral position, and the tool should stay as straight as the workspace allows. Angling the wrench awkwardly makes it harder to hold steady once the drive starts turning.
A practical routine works well: set a comfortable stance first, line up the socket with the fastener, then leave a bit of room around the body for small shifts as the job progresses. Real control comes from how grip, posture, socket alignment, and surrounding space work together, not from gripping harder or forcing the trigger.
What Should Be Considered During Fastening?
Socket alignment deserves a look before the trigger gets touched. A socket sitting square on the fastener cuts down on wobble once the tool starts turning. Steady contact matters throughout the job, especially the moment resistance builds up on a stuck bolt.
Pulling the trigger while the socket only half-grips the fastener often sends the connection sliding sideways. A better habit: seat the socket fully first, then start the tool from a stance that already feels stable.
Fastening work also depends on the part around the bolt itself. A stripped thread, a wobbly bracket, or a workpiece that isn't held down properly changes how the tool reacts under load. Running the trigger anyway without figuring out what's going wrong tends to make small issues worse.
A few things worth watching during the job:
- Keep the socket properly seated on the fastener.
- Maintain a stable tool position.
- Avoid forcing a socket that does not fit.
- Keep hands away from moving connection areas.
- Stop operation before making adjustments.
A D Handle Impact Wrench can't make up for a socket that's the wrong size or a workpiece that isn't held firm. Getting the setup right beforehand still counts as part of the job, not an extra step.

What Should Happen When the Tool Moves Unexpectedly?
Sudden movement shows up when a fastener suddenly grips harder, a socket slips off-center, or the parts underneath aren't sitting steady. A jolt or shift in tool position is a cue to stop, not a reason to push through with more force.
Once something feels off, release the trigger and settle the tool into a stable spot. From there, checking the socket, the fastener, the drive connection, and the workpiece gives a clearer picture of what happened.
Signs worth paying attention to include:
- Sudden sideways movement
- Unusual vibration
- Socket slipping from the fastener
- Unexpected stopping
- Loose or damaged connection parts
Pushing through a small fitting problem usually turns it into a bigger one. A short pause to figure out the cause saves time compared to fighting the tool and hoping it sorts itself out.
The same goes for a sound that wasn't there before. A grinding or rattling noise from a loose part shouldn't get brushed off just because the wrench is still spinning. Taking a moment to check gives a real answer on whether it's safe to keep going.
Which Protective Measures Fit Different Work Conditions?
What gear makes sense depends on the surroundings and the kind of fastening job at hand. Eye protection helps against small metal chips or fragments that can pop loose during repair or assembly work. Hearing protection makes sense in spaces where tool noise runs on for a while, like a busy shop floor.
Hand protection needs a bit more thought than grabbing any pair of gloves off the shelf. Gloves should fit the task and shouldn't get in the way of the trigger or switch, and they definitely shouldn't end up caught near a spinning drive. Loose sleeves, dangling straps, or jewelry should stay clear of moving parts altogether.
Footwear matters too, especially around garage floors or maintenance bays where oil and metal shavings collect. A sole with decent grip helps with footing on typical shop surfaces, and clothing that fits close to the body cuts down on snag risks near equipment.
Protection breaks down into a few areas:
- Eyes: Protection against dust or flying particles.
- Ears: Suitable protection in noisy working conditions.
- Hands: Appropriate protection without restricting tool control.
- Feet: Stable footwear for the working surface.
- Clothing: Close-fitting workwear away from moving parts.
Gear like this works alongside good habits, not instead of them. Decent lighting, solid footing, sensible clothing, and careful handling of the tool still need to happen together.
How Should the Tool Be Handled After Operation?
Safe habits don't stop the moment the last bolt gets tightened. Switch the power off before setting the tool down, and disconnect it from its power source if the design calls for that.
A quick wipe-down also makes future checks easier. Dust, grease, and metal shavings tend to build up around the housing, handle, socket, and drive area during repair work. Clearing off visible grime keeps the important connection points easy to inspect later.
Worth a glance after finishing up:
- Housing condition
- Handle condition
- Socket and drive connection
- Power cable or charging connection
- Signs of unusual wear
Where the tool gets stored matters too. A dry, clean spot helps keep moisture and dirt away from it between jobs. Avoid stacking heavy items where they might press down on the handle, cable, or housing.
Sockets and other removable pieces are better off stored somewhere organized rather than left attached to the tool out of habit. Keeping things sorted makes the next pre-use check go faster too.
How Can Safe Practices Become Part of Daily Use?
Safe operation gets a lot easier to stick with once it's baked into the regular workflow. A quick check before starting, careful socket placement while working, and a look-over after finishing can turn into a routine without much extra effort.
Different jobs call for different stances or angles of approach. Working on a fastener tucked next to machinery calls for a different position than a part clamped on a bench. Adjusting the setup to match the actual space helps keep things under control.
Three stages worth keeping in mind:
- Before use: Check the tool, socket, power connection, and work area.
- During use: Keep the socket aligned and maintain a stable position.
- After use: Disconnect power, clean visible residue, and inspect the tool.
A D Handle Impact Wrench is really just one piece of a bigger process. Tool condition, socket fit, how steady the workpiece sits, body position, the right protective gear, and where the tool gets stored all play into how safely a job goes. Folding these habits into everyday use makes fastening work simpler to manage and easier to check on down the line.
Product Recommendations
-
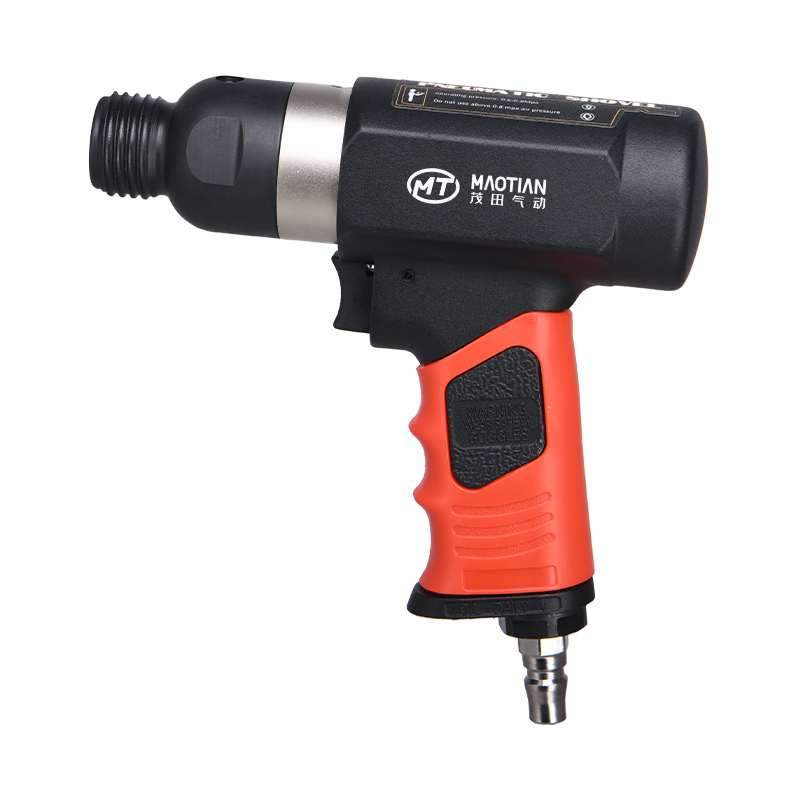
Heavy Duty Medium Barrel Air Hammer
read more -
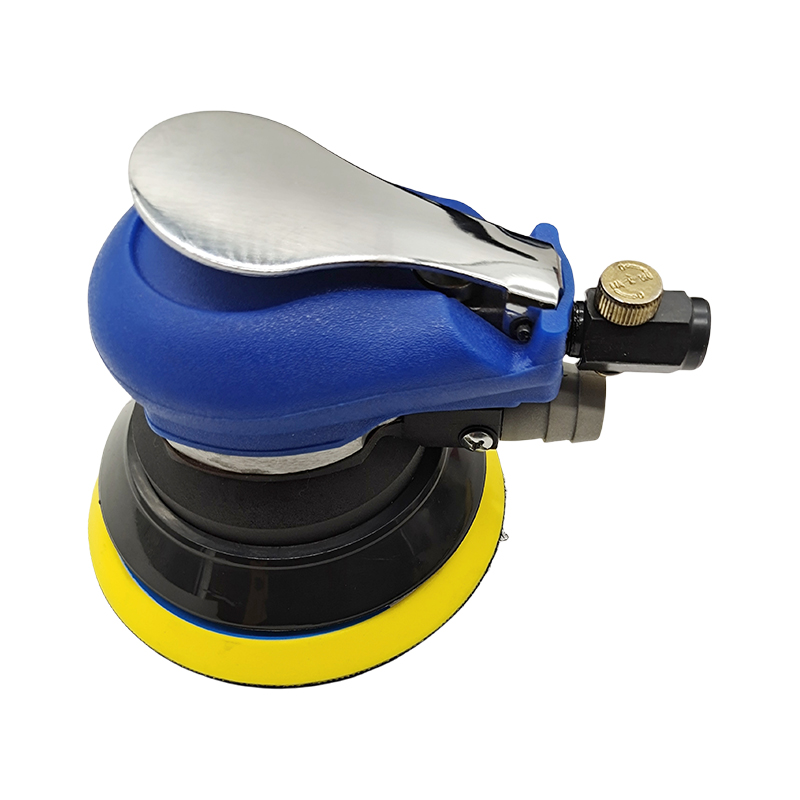
6" Pads And Sandpaper Air Random Orbital Polisher For Metal
read more -
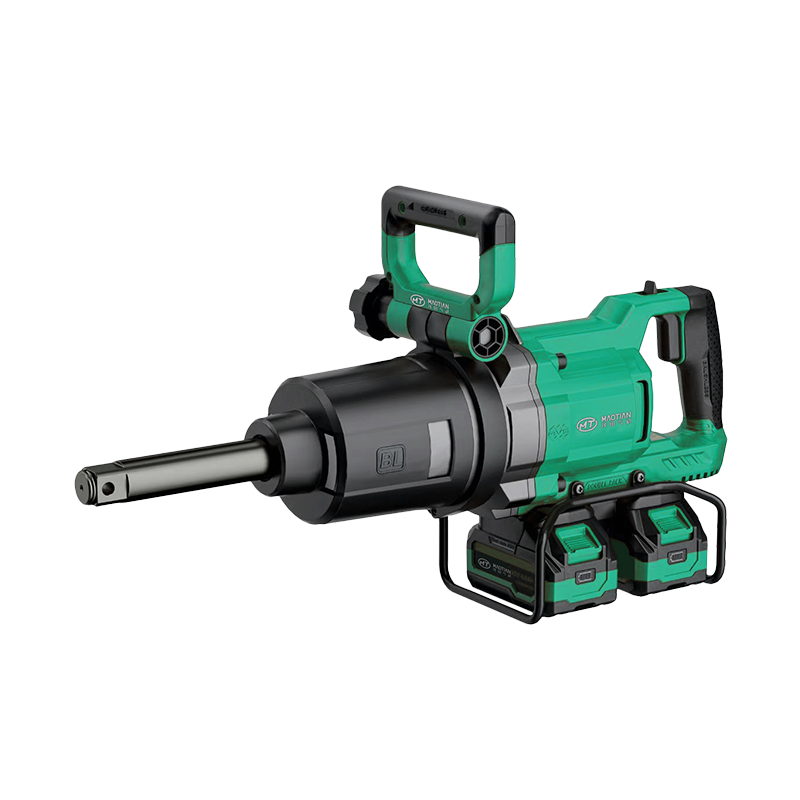
Ultra Duty 40V Strong Power Brushless 1" Li-ion Impact Wrench
read more -
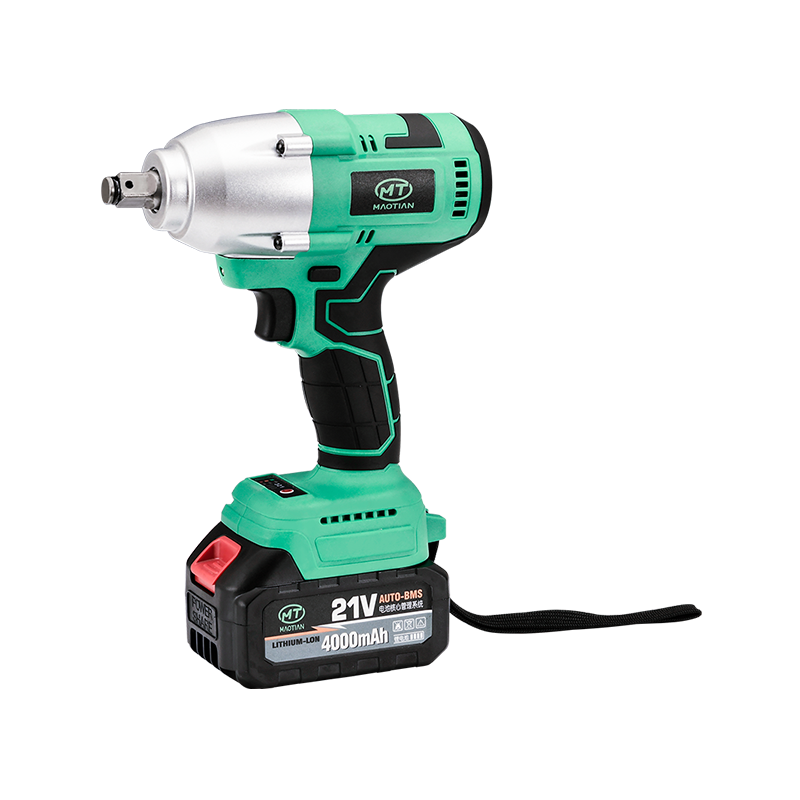
1/2" 20V Brushless Lightweight Li-ion Impact Wrench
read more -
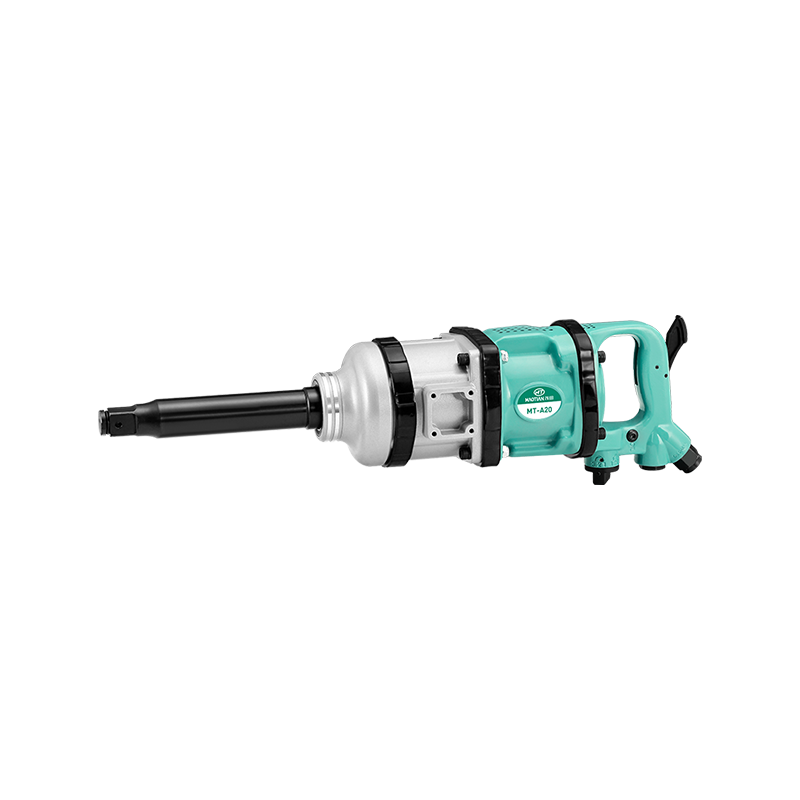
1" Heavy Duty Pinless Clutch Air Impact Wrench
read more -
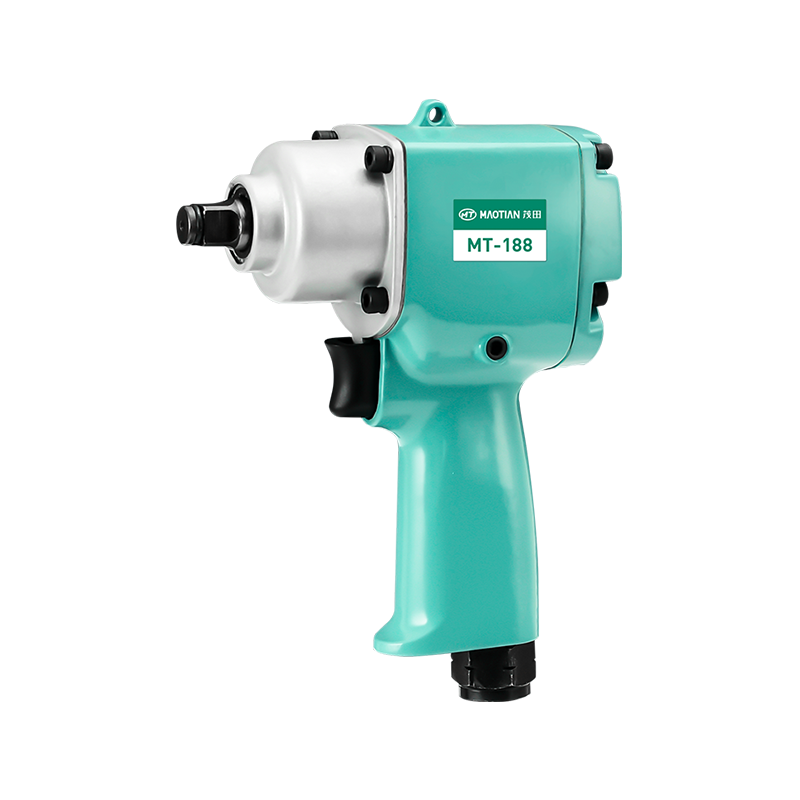
3/8 Inch Stubby Mini Air Impact Gun
read more
Contact
-
Official Address
Building 4, No. 1169, Jiutang South Road, Sanjia Street, Taizhou Bay New District, Taizhou City, Zhejiang , China.
-
Email Us
zoe@maotian-airtool.com
-
Call Us
+86 18815202028 (Zoe Sales Manager )
+86-576-82737789


Copyright © Taizhou Maotian Pneumatic Tools Co., Ltd.
Industrial Pneumatic Tools Factory


